
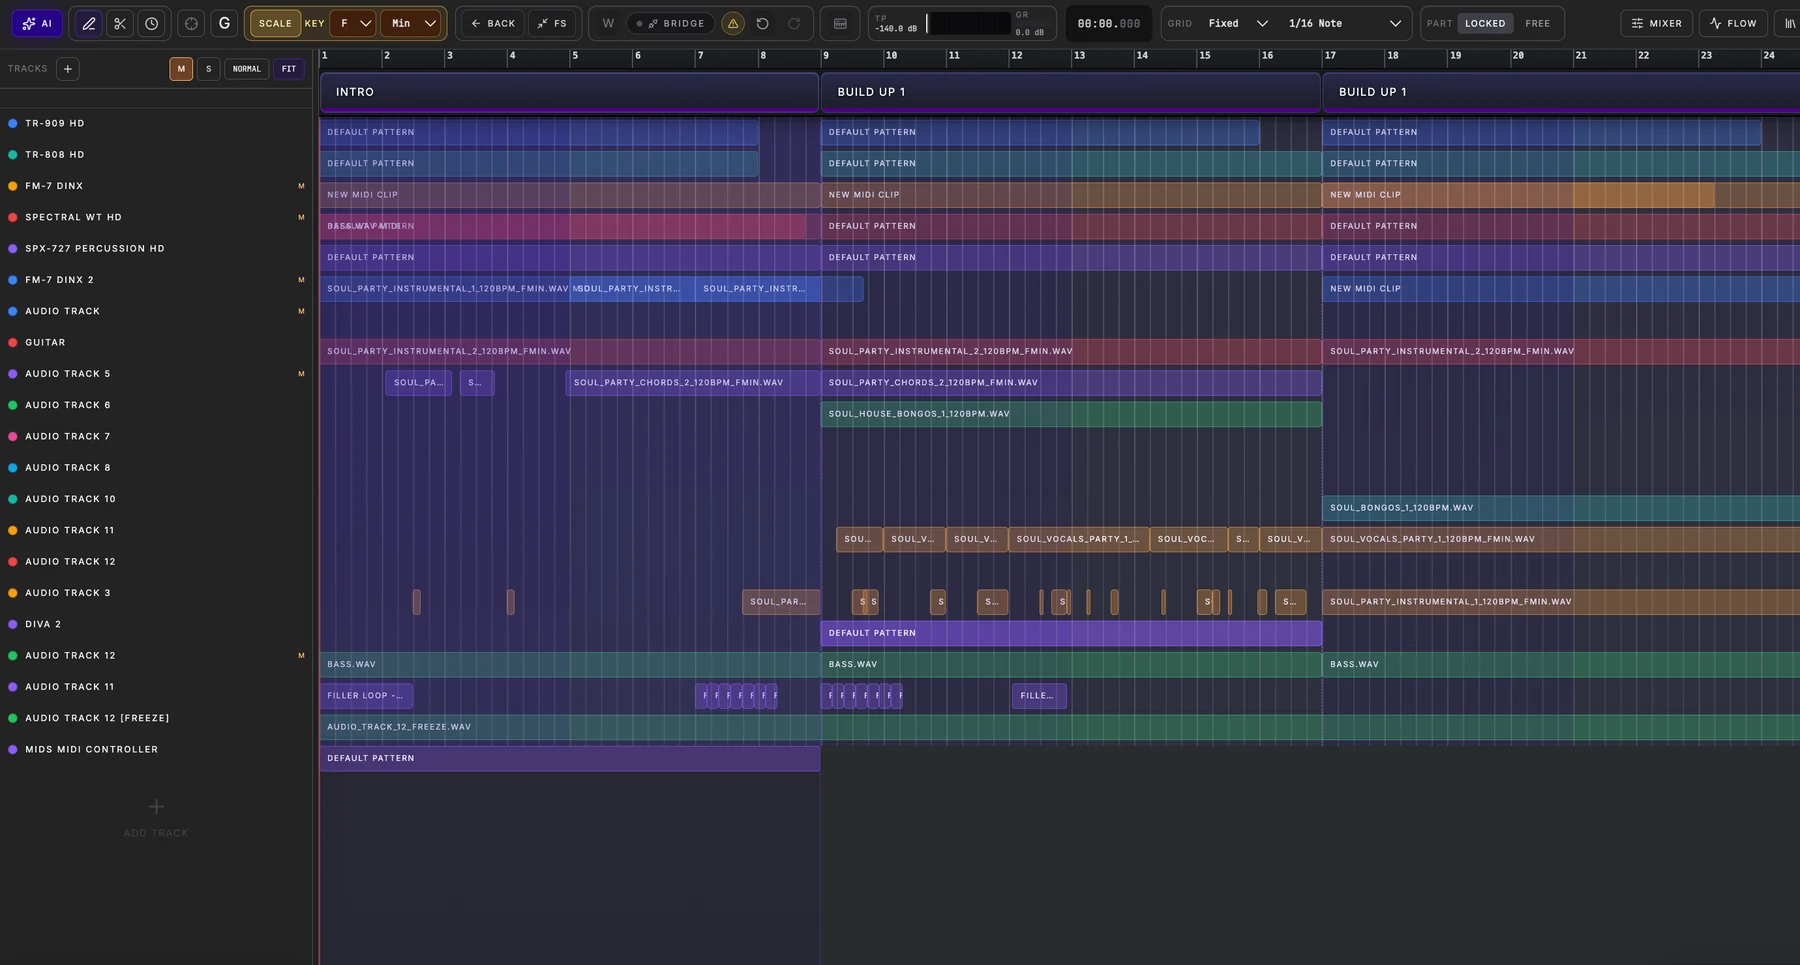
Start with the source. Edit the clip.
Audio in a production often needs placement before it needs processing. Drag the material into an audio track, position the clip within the Song Part or Arrangement, and use its waveform as a visual reference for the performance. The clip controls let you define the useful source range, create a loop, apply fades and set gain without destructive source editing.
That separation makes iteration safer. You can try a different entrance, shorten a tail, reverse a hit or alter pitch while leaving the stored source available for another use. The arrangement remains readable because the waveform and the clip boundaries show the same edit that playback uses.
Fit musical material with care
When a sample needs to sit against the project tempo, begin with BPM information and the musical length you want. Spider exposes Warp modes and Warp markers for audio clips so you can make a musical decision about timing rather than forcing every recording through one generic stretch. After a change, listen in the surrounding arrangement: a warp is successful when the timing and the sound both remain appropriate for the track.
For short one-shots, a direct placement or slice workflow may be more useful than time stretching. For sustained recordings, the source range, gain and fades are as important as the grid. The audio editor is meant to support those different decisions inside the project rather than turn every file into the same kind of clip.
Use audio alongside MIDI, not outside the song
Audio clips live on the same timeline as the MIDI you write in Studio Flow and refine in Arrangement. That makes it possible to shape a recording against the actual bassline, drums and automation that surround it. The goal is not an isolated waveform tool; it is a reliable audio-editing workflow inside the song.